How to build a local history website for your village in 30 minutes
Building a website for your village used to mean either finding a programmer (expensive, complicated, and who do you even ask?) or learning web design yourself. With AI, anyone can do it.
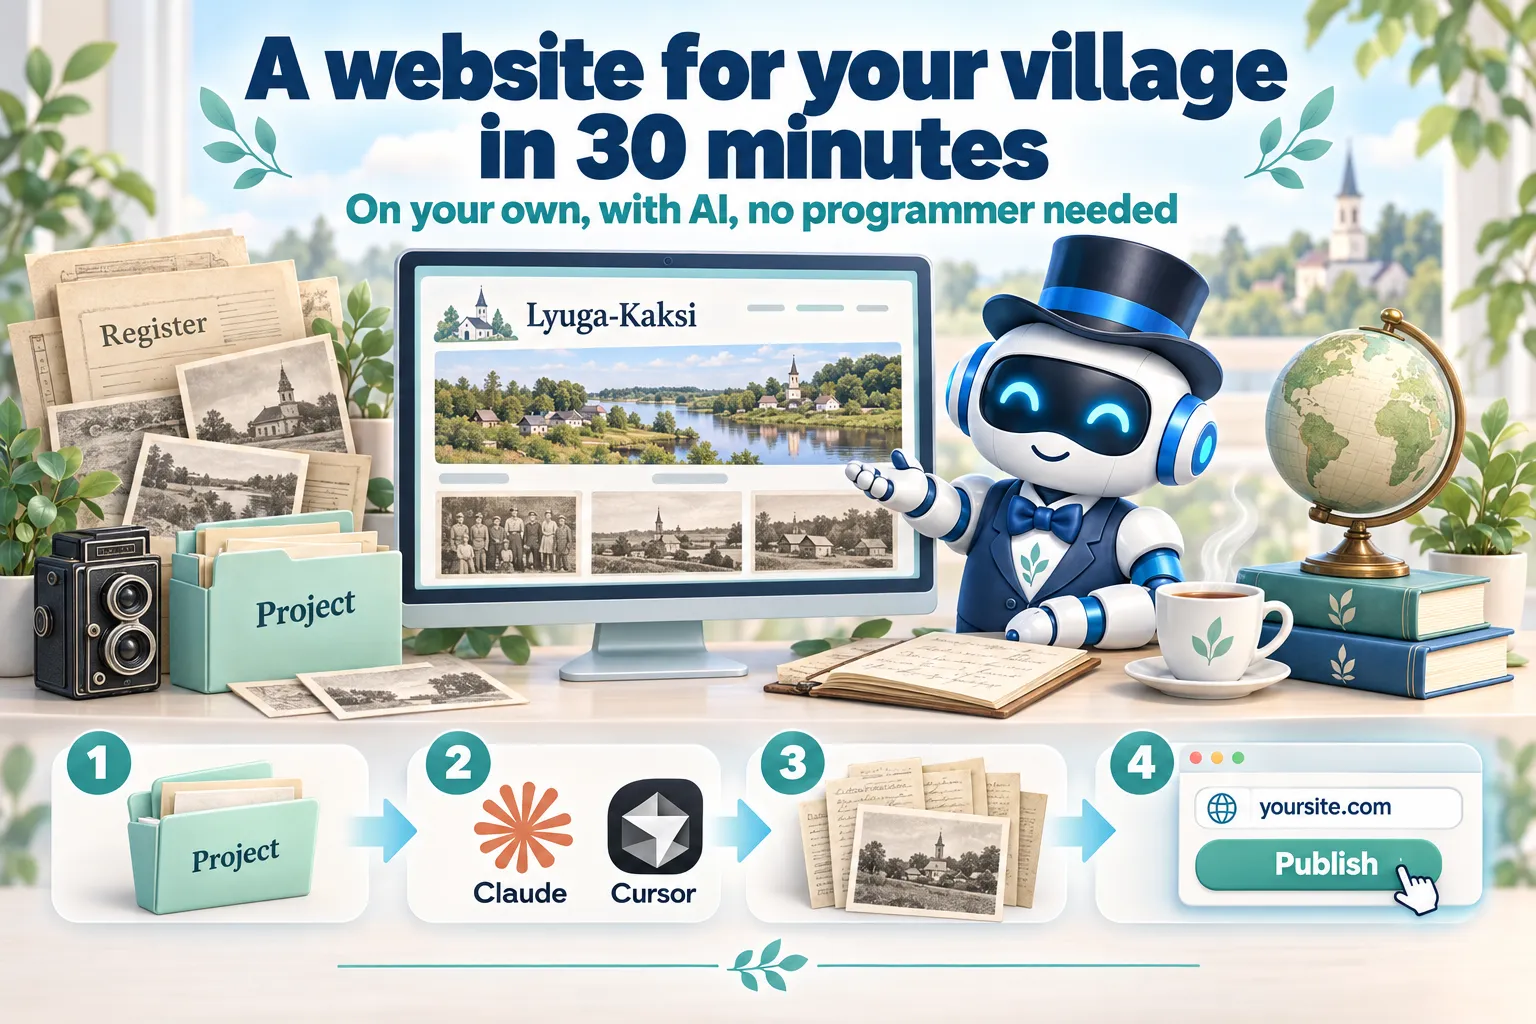
Today I built a site like this for my own village. Here’s how to do the same.
Why have a website at all?
When you research your family, you inevitably become the leading expert on your ancestral village. Material piles up: document scans, spreadsheets, archive extracts. It all sits in folders on your computer.
The problem: a folder is a closed box. Nobody can find you.
A website, on the other hand, gets indexed by search engines. Someone googles “Lyuga-Kaksi village” or “Averin surname Vyatka” and finds you. They write to you. They turn out to be a distant relative. They fill in the story with photos you never knew existed.
A website is a magnet. You don’t have to hunt for relatives; they find you.
What you’ll need
- Claude Code or Cursor (requires a subscription)
- The frontend-design skill: optional, but it makes the result better
- Your village data in a structured form, for example a timeline of the village’s history with sources. I like the “village life timeline” by the Russian genealogist Elena Brozovskaya
- Half an hour
How to do it
- Create a project folder
- Launch Claude Code or Cursor in it
- Paste in this prompt. It’s written in Russian, so if you want to read or tweak it first, ask the AI to translate it for you
- Answer the AI’s questions
- Get a ready-made HTML file with your site
How to publish it
Free static hosting is plenty for a site like this. Here’s one free way, with GitHub Pages (GitHub’s guide):
- Sign up at GitHub and create a new public repository
- Upload your HTML file, named
index.html, plus any images or other files that came with it (Add file → Upload files) - Open Settings → Pages, choose “Deploy from a branch,” pick the
mainbranch and save - In a minute or two, your site is live at
username.github.io/repository-name
If you’d rather skip the repository, Netlify and Cloudflare Pages let you publish by dragging your site folder into the browser.
Here’s what I got: Lyuga-Kaksi: the history of a village on two riverbanks (1716–1989) (in Russian).
If you’ve already put together a spreadsheet of the soldiers from your village with my earlier recipe, you can turn it into a separate searchable section of the site.
Give it a try and show me what you get!